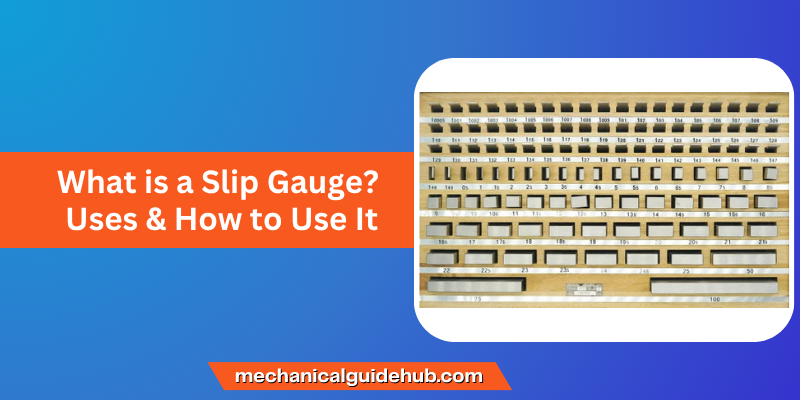
What is a Slip Gauge? Uses & How to Use It
Published: 1 Jul 2025
Want to measure things with high accuracy? A slip gauge might be just what you need. Whether you’re in a workshop or a classroom, these small tools play a big role in getting precise measurements. In this post, we’ll keep it simple and walk you through everything, from what it is to how to use it.
What is Slip Gauge
A slip gauge is a standard measuring tool used to check the accuracy of other measuring instruments and calibrate machine tools with high precision. These blocks are essential in precision engineering for verifying dimensional accuracy and are often used with a sine bar to set precise angles.
Slip gauges are typically made from high-quality steel and come in different sizes and shapes to suit various measurement needs. It is also known as the Johansson gauge or Gauge Block.
How to Use a Slip Gauge
Using a slip gauge is simple:
- Use the right blocks to get the length you need.
- Wipe them clean with a cloth
- Rub them together slightly so they “stick” (called wringing)
- Stack the blocks in order and use them with your tool (e.g., micrometer, sine bar).
Remember to handle them carefully—they are very precise!
Calibration Grade
This is the most accurate type. It is used in labs, for testing other slip gauges, and in research. It helps when you need very exact results.
Grade 00
It is used by experts for highly accurate measurements where tiny differences matter.
Grade 0
Grade 0 is good for tool rooms and machine shops. It helps when checking the size of parts or setting up machines.
Grade 1
Grade 1 is used to check sine bars, gap gauges, and tools. It gives accurate results and is useful for many types of measuring jobs.
Grade 2
This one is best for regular workshop use. You can use it for basic checks, machine setups, and general inspection. It’s not as exact as the others, but still very useful.
Each grade is made for a different job. Choosing the right one helps you measure better and faster.
Wringing of Slip Gauges
Wringing means gently pressing two slip gauges together so they stick without using glue or tools. This helps you create the exact size you need by combining blocks
How to Wring Slip Gauges
Clean the Gauges
Use a clean, soft cloth to wipe both gauges. Ensure there is no dust, oil, or moisture on them.
Place One on Top
Put one gauge slightly over the other, so they overlap about one-fourth of their length.
Slide Gently
Press lightly and slide the top gauge across the bottom one, moving it sideways. This helps them start sticking.
Rotate and Line Up
After sliding, turn the top gauge slowly until both are fully in line. They should now be stuck together.
Check if They Stick
Hold one gauge up. If they’re tied right, the second one won’t fall off.
Uses of Slip Gauges
Slip gauges are used in:
- Measuring small lengths with high accuracy
- Calibrating other measuring tools
- Quality control in manufacturing
- Tool and die making
Conclusion
Slip gauges may be small, but they’re big on accuracy. If you’re working in precision measurement, learning how to use them is a must. Now that you know their uses, types, and how to use them, you’re ready to get started with confidence.
FAQs
Use a clean, soft cloth. A chamois leather or lint-free wipe works best.
A light coat of Oil is used to protect the slip gauge from rust after use.
Slip gauges are finished by high-precision grinding and lapping.
They are usually made of hardened steel, tungsten carbide, or ceramic.
The least count depends on the combination, but some can measure up to 0.001 mm.
The price varies based on size and quality. A basic set can start from $100 and go up.
Sets can have 32, 47, 81, 103, or more pieces, depending on the range and application.


- Be Respectful
- Stay Relevant
- Stay Positive
- True Feedback
- Encourage Discussion
- Avoid Spamming
- No Fake News
- Don't Copy-Paste
- No Personal Attacks
- Be Respectful
- Stay Relevant
- Stay Positive
- True Feedback
- Encourage Discussion
- Avoid Spamming
- No Fake News
- Don't Copy-Paste
- No Personal Attacks
